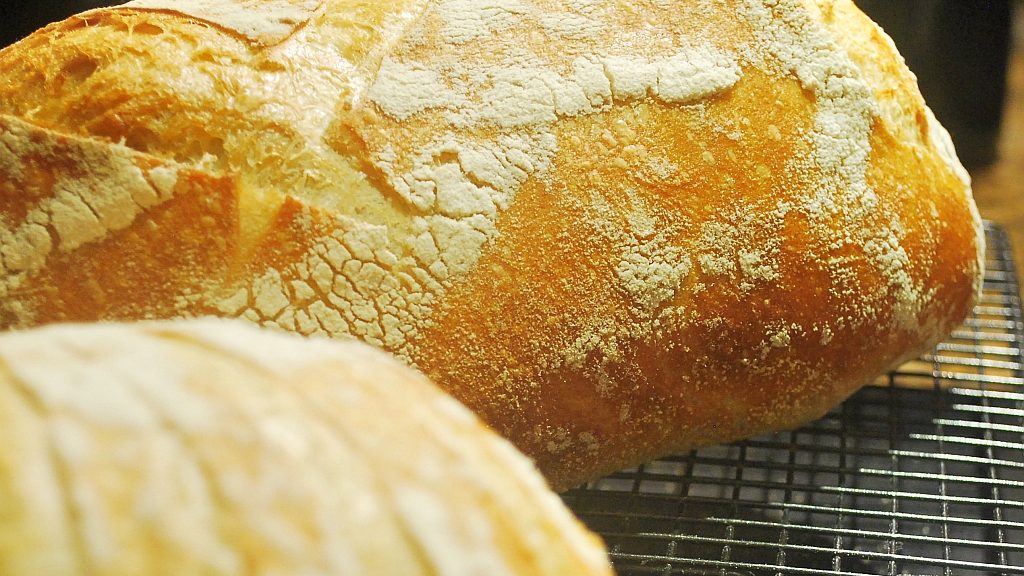
Sourdough Part II: The Grand Finale
It has been said many of times but it is true, nothing beats the smell of freshly baked bread when you take it out of the oven. It must be somewhere deep in our genes, passed to us by our ancestors. Bread has been a staple in our diet for centuries. In many cultures if you want to show your hospitality you offer bread to your guests, welcome them with bread, break bread with them. And sourdough is the king of breads, the pinnacle of bread baking. So lets roll up you sleeves and start baking.
It has been couple of days since our published the post about creating sourdough starter. If you started then you should be well under way to have it ready. This is essential for sourdough baking.
This recipe is for a basic white sourdough bread. It makes one large and one small loaf. It has been inspired by Richar Bertinet and Emmanuel Hadjiandreu although I developed my own version of the method. Sourdough baking is a slow process. Natural yeast need time to grow in the dough and with this time your bread will develop its unique flavour. It is not going to take a lot of your time though. It needs only a bit of attention each day throughout the process. For example, if I know that I want to bake a loaf on Saturday evening I will start the process on Thursday evening.
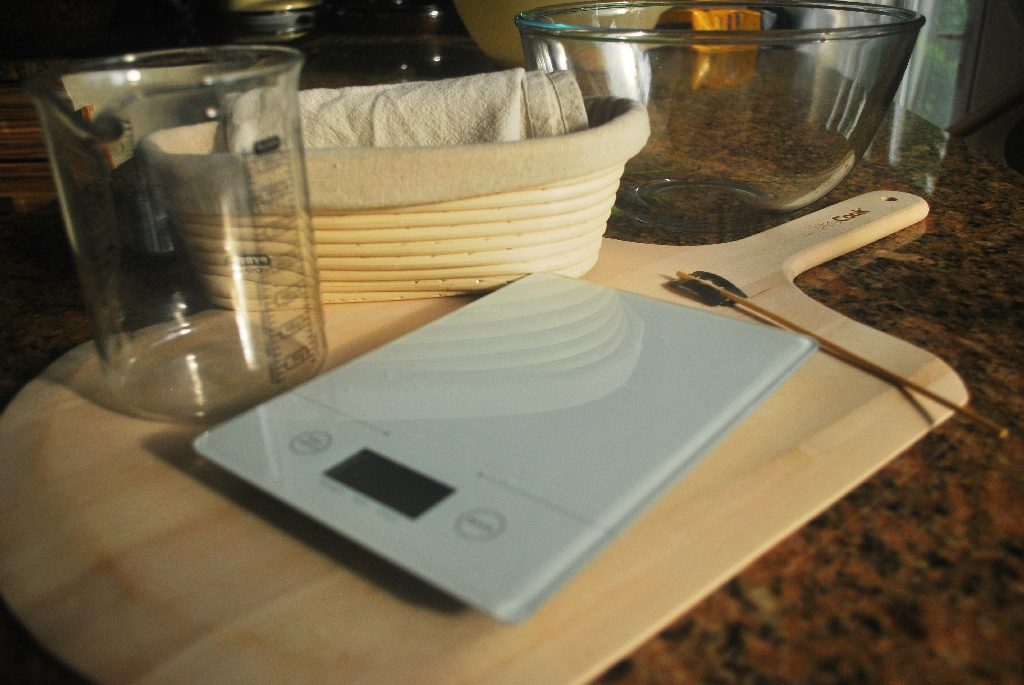
Equipment required:
- Pair of hands
- Baking stone. If you haven’t got one a heavy baking tray would do. Just place it upside down so that it is flat
- Quality precision weighing scales
- Large mixing bowl
- Tea towels. Get few plain tea towels to use only with bread making. They will be used to line tray or cover the dough when proving. I keep mine separate to other tea towels in the kitchen. I never wash then as I don’t want them smelling of washing detergent. After baking process I simply shake off the excess flour, let them dry and sometimes use to wrap around loafs. In time the become impregnated with bread flavours and yeast.
- Plastic scraper
- Razor blade also known as lame. You will use this for slashing the tops of loaves. You can get away with a sharp knife but I switched to lame as it does the job more cleanly.
- Proving basket. If you don’t have one use colander lined with tea towel
- Wooden peel. This is used to transfer proved bread into the oven. If you don’t have the peel use flat edged baking tray or if you only have one with a lip, turn it upside down.
- Water container or jug
- Timer
Ingredients:
- 20g of sourdough starter (here is how to grow your starter)
- 600g of quality strong white flour + extra for dusting
- 390g of water (I find weighing water more precise than measuring)
- 12g of salt
Method:
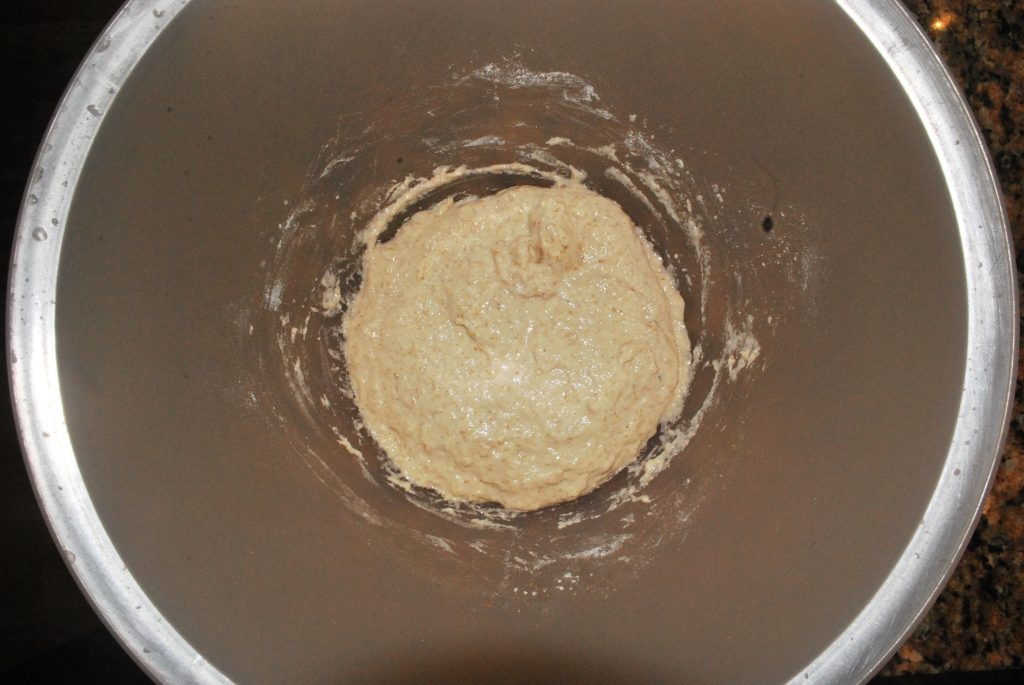
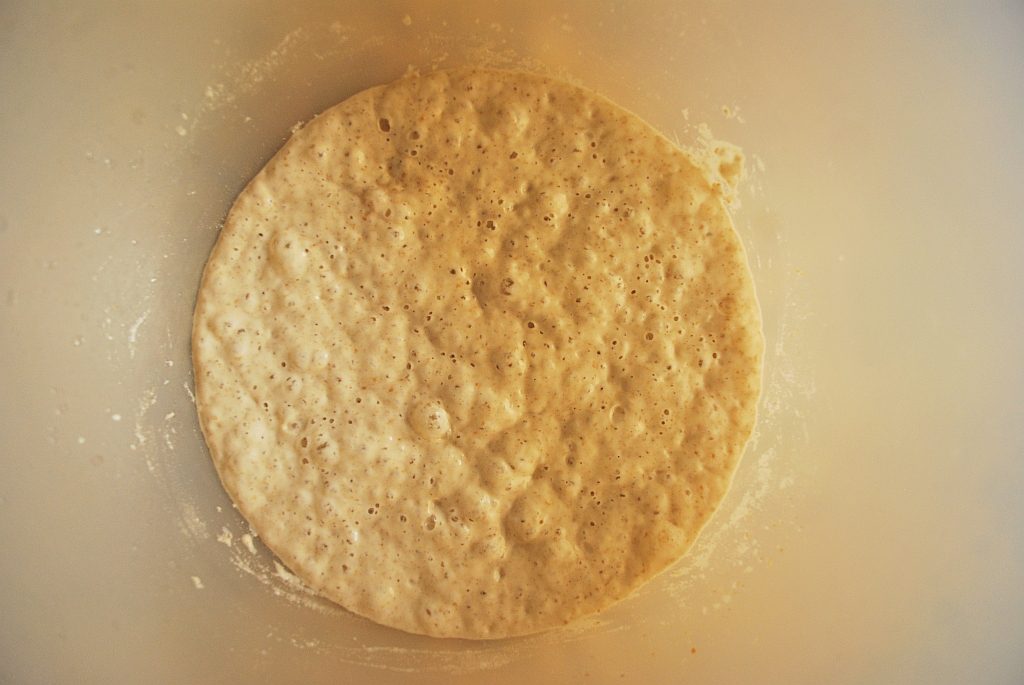
First you have to build a ferment on which a base on which the whole bread will grow.
- Place 20g of sourdough starter in the mixing bowl.
- Add 100g of water and stir well until the starter is well mixed with the water.
- Add 100g of flour and mix well until all ingredients are combined.
- Cover with cling film and leave to ferment for about 24 hours in a warm place. I usually leave mine on the shelf above the tumble dryer not far from a radiator.
If you would like to bake sourdough in the future add 1tblsp of flour to your starter and 1tblsp of water. Mix well so that you have consistency if a thick batter. Cover with the lid and leave overnight in a warm place for yeast and bacteria to breed. Next morning put in the fridge. It will go into hibernation until you need to use it again. When you are ready to bake again take it out of the fridge the night before you start baking process. Add 1tblsp of flour and 1tblsp of water and stir well. Leave for 24 hours to reactivate. It will be ready to use the next evening.
The next day the ferment should look like this.
You are now ready to work on the dough:
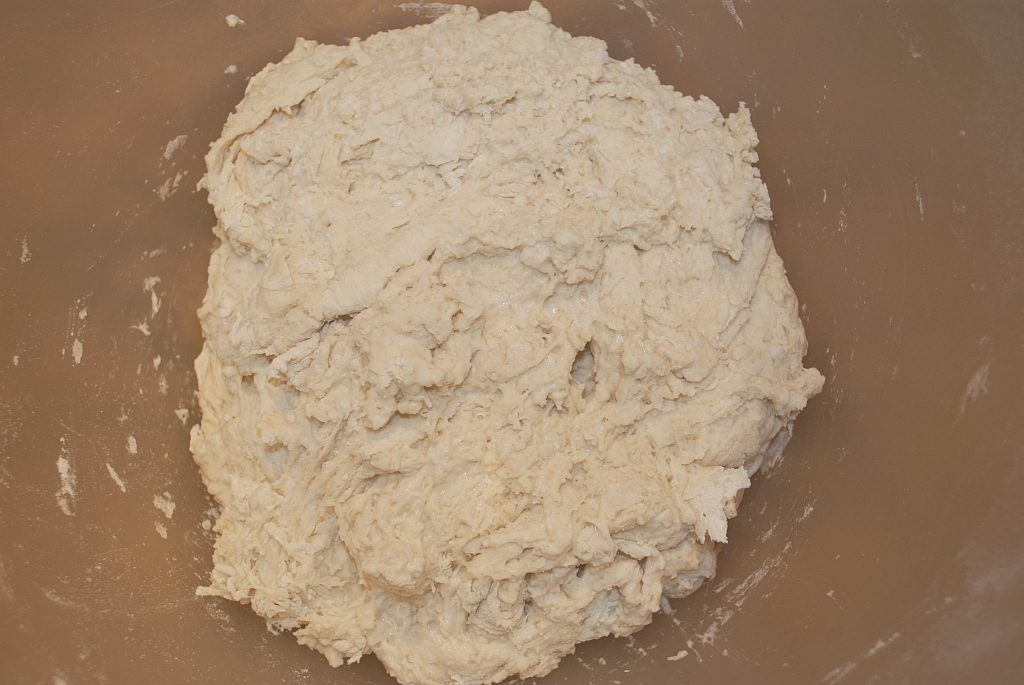
- Add the remaining 290g of water to the ferment and mix well.
- Add the remaining 500g of flour and 12g of salt.
- Mix all until all ingredients are well combined and you have a rough slightly sticky dough. If the dough feels a bit dry add more water (for example you may have to do it on a dry hot day).
- Cover the bowl with a large plate and leave for 10 minutes.
- The dough is now ready to be kneaded. Lift a portion of the dough up from the side and fold into the middle. Press with your knuckles.
- Turn the bowl 90 degrees and lift another portion of the dough from the side and fold in the middle and press with your knuckles.
- Repeat steps 5 and 6 another 8 times. Cover the bowl with a heavy plate and leave to rest for another 10 minutes.
- Turn the dough over and repeat steps 5 – 7.
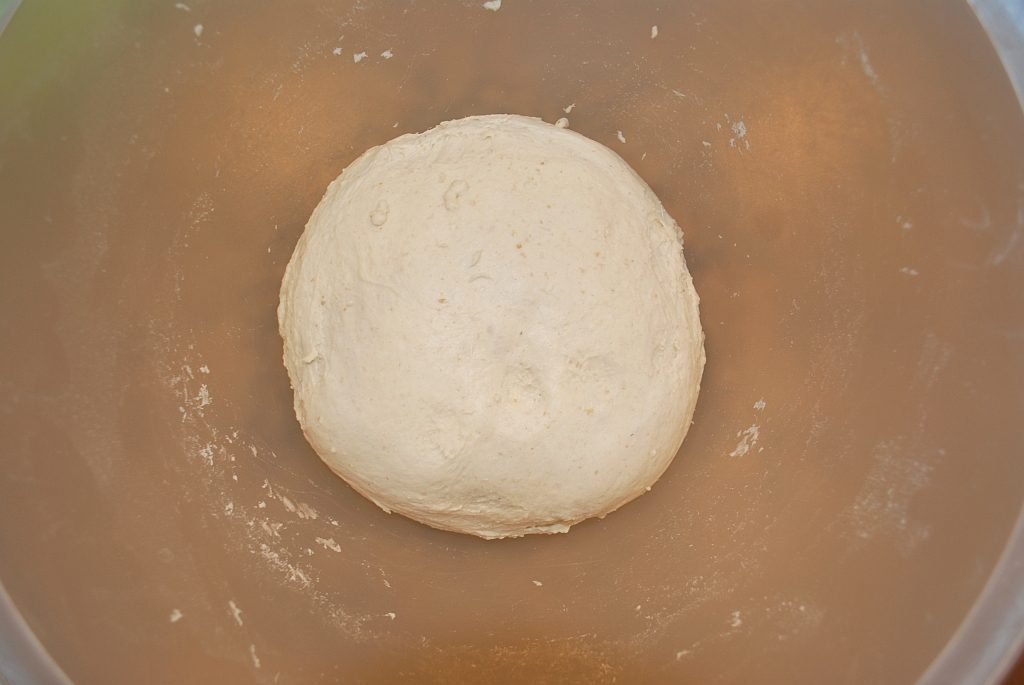
- Turn the dough over and repeat steps 5 – 7 another 2 times. By now you should have finished 4 kneading sessions with 10 minutes breaks between them. The dough should be smooth and should come away from the bowl sides easily. Do not add any additional flour throughout this process.
- Cover the bowl with a cling film and leave to rest overnight in a cool place. I leave mine in a garage.
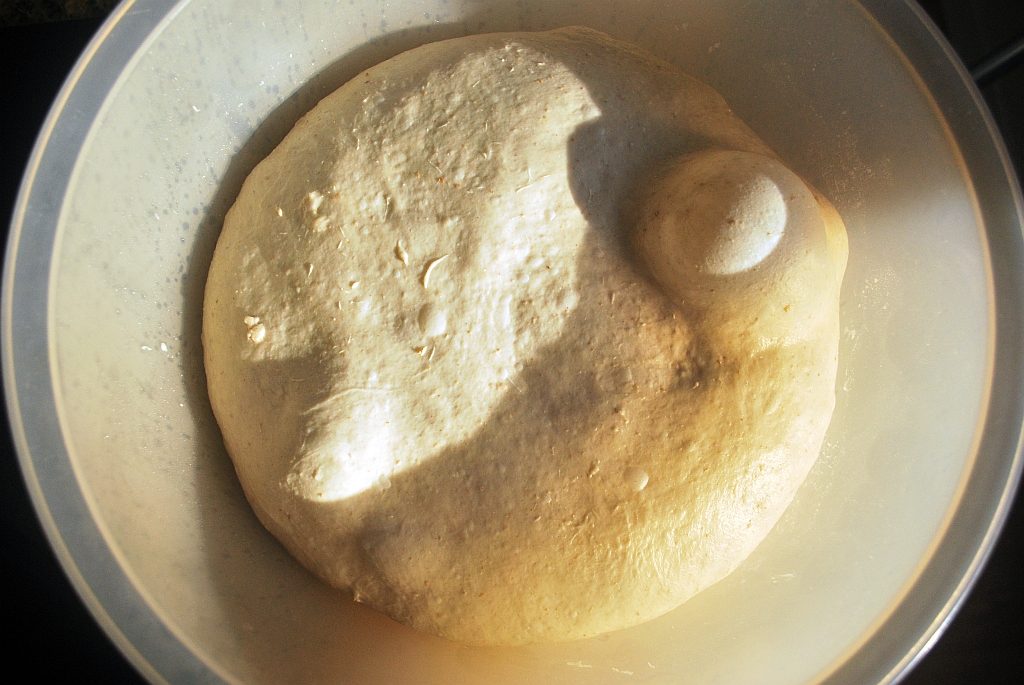
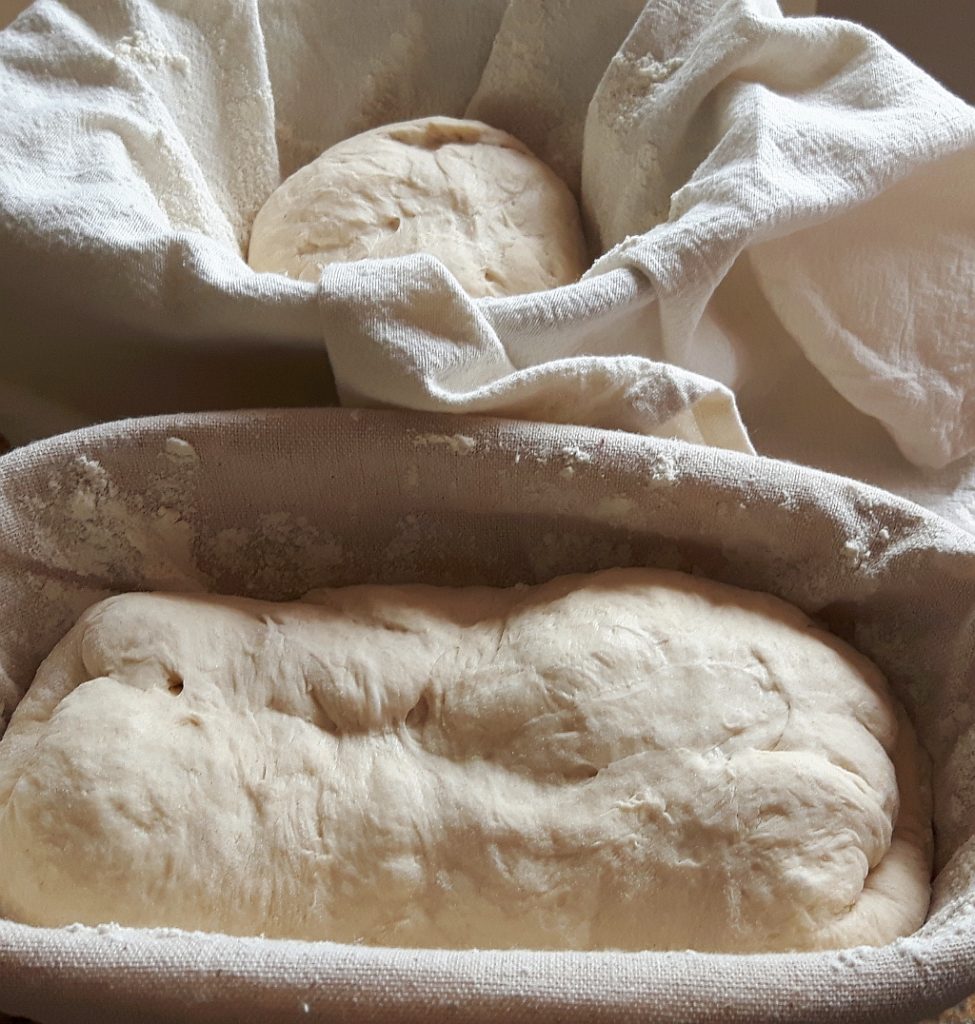
The next evening your dough should have risen well and is now ready for proving.
- Line couple of colanders with tea towels and dust heavily with flour. Alternatively dust inside of proving baskets with flour.
- Lightly dust the work surface with flour. With help of the scraper remove the dough from the bowl and place it on our working surface.
- Flatten the dough with your hands to create rectangular shape
- With the scraper cut ¾ chunk of the dough and weigh it. You are looking for about 750g worth of dough. This is your large loaf.
- First work on the large piece. Take one corner of the dough and fold it right to the opposite side and press to release trapped air.
- Repeat with all four corners until you have a round shape.
- Turn the dough over and tuck in the underneath of the dough with your fingers as you rotate the dough until you have a rounded ball. Sprinkle the dough with flour.
- Flatten the dough slightly with your hand and place it in the lined colander seam side up.
- Repeat the process with the remaining piece of dough.
- Cover both proving colanders (baskets) with tea towels and leave to prove in a warm place. Depending how active your sourdough starter was it may take between 2 to 8 hours to prove. If you want to bake the next morning place shower caps on top of the colanders (proving baskets) and leave in a cool place overnight. Once proven (dough doubled its size) start baking with the smaller loaf.
- Preheat the over to 250 centigrade. Place a roasting tin on a bottom of the oven and baking stone or upside down baking tray in the middle of the oven. Put a kettle on.
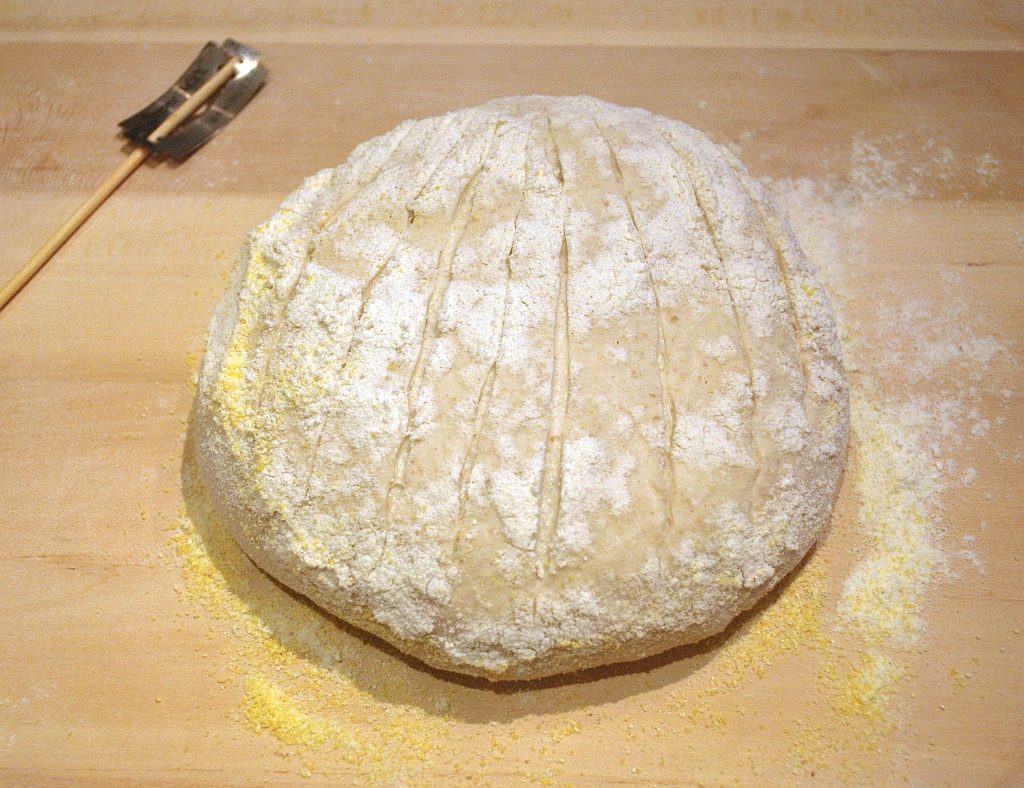
- Dust the top of the proven dough with flour (or even better semolina). so it does not stick to the peel (or baking tray) and you can slide it easily onto the baking stone. Holding bottom of the colander with one hand place your peel (or baking tray) on top of it holding with your other hand. In one rapid movement turn the colander with the peel upside down. Gently remove the colander and then tea towel. You should have your proven loaf on the peel.
- Pour about cup of hot water into the roasting tin on the bottom of the oven. This will create steam that will help your bread to expand and develop a nice crust.
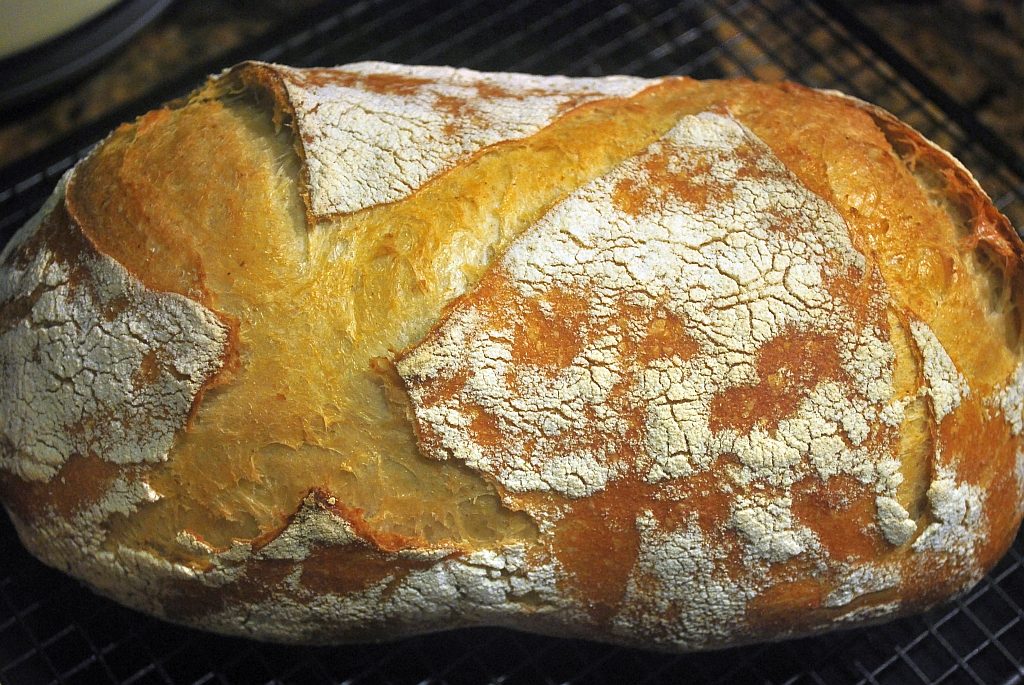
- Make deep slashes on top of your loaf with pattern of your choice.
- Slide the loaf onto preheated baking stone (or upturned baking sheet). Reduce the temperature to 220 centigrade and bake for about 20 – 25 minutes until golden.
- Take it out and tap the bottom. It should sound hollow. Let it cool on a wire rack.
- Repeat the process with the larger loaf with the baking time extended to 35 – 40 minutes.
Have a slice… Once your family picks the aroma it won’t last long.
Twist:
For Mediterranean style flavour mix 2 tblsp of tomato puree with water and add 1 tsp of nigella seeds to the flour at the beginning of a dough kneading process.
2 thoughts on “Sourdough Part II: The Grand Finale”
Thanks, great article.
Hi! Thank you for your comment. I am glad you like it and I hope you will find it useful. I just added extra twist with optional flavouring. Let me know how it works for you.