Mother yeast
This is the first part on the journey to making of the sourdough bread. Sourdough starter or mother is the base you use to start your bread dough. It starts with the wild yeast spores naturally occurring in the air and four. When you mix flour with water and allow it to ferment (ie. When yeast breeds and produces carbon dioxide) you create the starter. It takes about 5 days to develop and when it is ready you can use it as a rising agent instead of baker’s yeast. You can grow the started with almost any flour you like, but more natural and organic the product the better. This is because it is more likely that more of the wild yeast is present in the actual flour. Also as more of the wild yeast is present in bran you are likely to get quicker and stronger result with wholemeal flour than white. I created white wheat flour sourdough starter but it required a good quality organic strong bread flour to achieve good result. However to get best chances of success I recommend to use wholemeal rye flour.
The method I present is based on method by Emmanuel Hadjiandreou. I tried and tested few sourdough methods and this works for me best. Some other methods suggest using fruit such as apples or oranges to help with fermentation, others suggest adding honey to mellow down the flavour and give extra sugar for yeast to feed on. However I am a bit of a purist and I like easily noticeable sourdough flavour. So I use only flour and water to build my starters.
Equipment required:
Small glass jar with a lid. Washed thoroughly and dried.
Ingredients:
Flour of your choice (preferably wholemeal rye to start with) around 5 teaspoons
Water – warm and ideally mineral or filtered. Chlorine in tap water may kill bacteria and yeast in the mixture.
Method:
Day 1: Mix 1 teaspoon of flour and 2 teaspoons of water. Mix well and close the lid. Leave to stand in the warm place for about 24 hours.
Day 2: Add another 1 teaspoon of flour and 1-2 teaspoons of water and mix well. The mixture should have consistency of a thick batter (like a drop scone batter). Close the lid and leave to stand in warm place for about 24 hours
Day 3: repeat instructions from day 2. If the mixture is too thick add a bit more water, if it is too thin add less water this time. Close the lid and leave to stand in warm place for 24 hours.
Day 4: repeat instructions from day 2. Close the lid and leave to stand in warm place for 24 hours. The mixture should now have little bubbles visible and should smell slightly like cider vinegar.
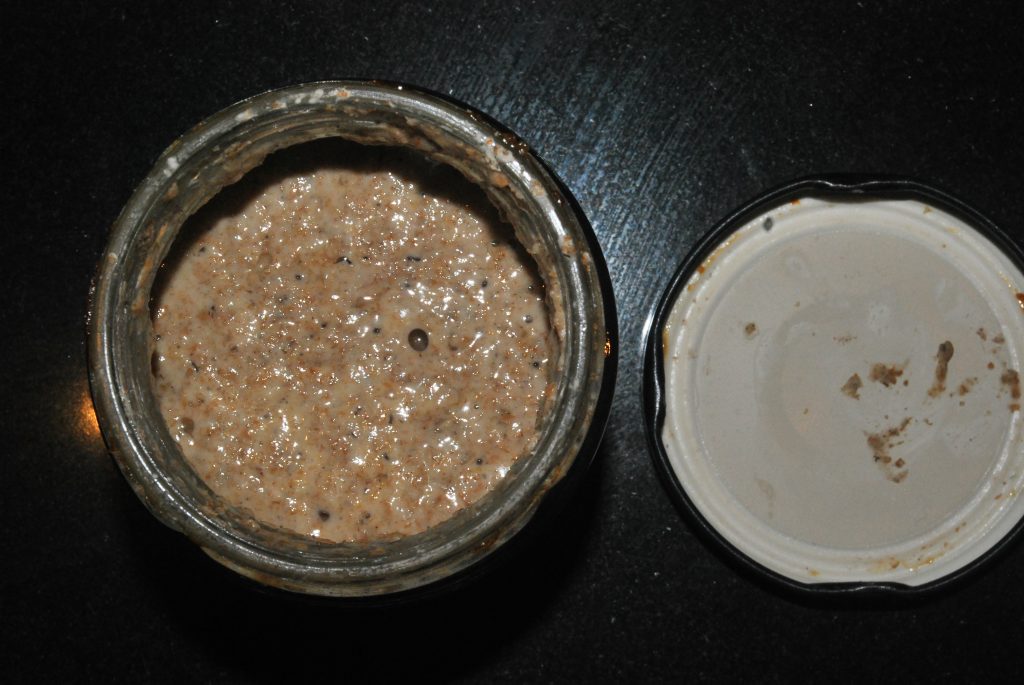
Day 5: The mixture should have plenty of bubbles and pronounced smell. It is now ready to use. If it is not add another teaspoon of flour and 2 teaspoons of water and leave again for 24 hours. The picture below shows how the active wholemeal rye flour starter looks like.
Now you have an active sourdough starter ready to use. In my next post I will explain how to make a bread using the starter.
Treat your sourdough starter with love and care and it will stay with your forever. Literally!. When you are not using your starter put it in the fridge. It will go into hibernation but remain alive. I currently work with three different starters: wholemeal rye, wholemeal wheat and white wheat. They are all more than half year old and touch wood doing well. I will explain it all in details in my next post.