Basic white bread
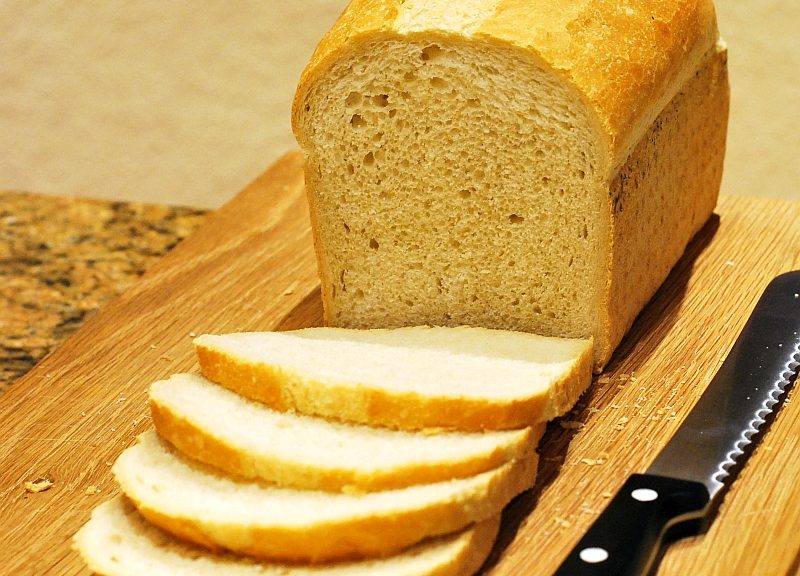
If you follow me on instagram, facebook or twitter you will know that bake a lot of bread. Most of the time it is sourdough bread and I like it that way. However many people told me that they find baking sourdough too intimidating. Many times I have been asked to provide a basic yeast bread recipe that is good for beginners. I then realised that I never published the actual beginner bread recipe. I now decided it is time to correct this error and publish a basic white bread recipe. I consider this recipe as probably the simplest in my repertoire. So if you fancy to go on a bread baking journey this is the place to start. There is very little that can go wrong with this recipe and it forgives a lot of simple errors. However most of all it is still yummy! It works perfectly in a bacon sandwich. Just throw two rashers of pan fried crispy streaky bacon between two slices of this bread and you get a sandwich perfection. Hold on, I need to take a break and make myself one now!!
Makes one medium loaf.
Equipment required:
- 800g bread tin
- Large mixing bowl
Ingredients:
- 500g strong white flour
- 300g lukewarm water (best way to test the temperature is to dip your fingers in. The water should feel neither cold or warm to touch)
- 5 – 7g easy bake dried yeast (less yeast, longer it takes to prove but tastes better)
- 10g salt
- 20g solid fat (butter is good, I often use lard as it gives a wonderfully soft crumb. You can substitute it with margarine or even coconut oil if you don’t mind your bacon sandwich to smell coconutty)
- Extra fat to grease baking tin
Method:
- Place the salt on the bottom of the bowl. Tip in the flour and yeast. Add the butter and water.
- Move the flour around gently, until you’ve picked up all of the flour. You want dough to be soft but not soggy. If it feels too stiff add another 10 – 20g of water.
- Use the dough to clean the inside of the bowl and then tip it onto the work surface. Knead for 5 – 10 minutes until the dough feels elastic and starts to form a soft, smooth skin. Avoid adding extra flour during this process. Alternatively you can knead the dough inside the bowl using a method described here. If you are using a mixer with kneading hook attached, knead at low speed for about 3 minutes. Then turn if up a notch and knead for another 7 minutes.
- Oil inside of a mixing bowl with about a teaspoon of rapeseed oil and tip the dough back in. Cover with a damp tea towel or shower cap. Leave to rest in a warm place until at least double in size. This should take at least one hour, but it is ok to leave it for 2 – 3 hours.
- Tip the dough back onto the lightly floured work surface. Fold it inwards several times to knock out the excess air.
- Grease the tin with lard or olive oil.
- Form the dough into an oblong by flattening and folding the sides into the middle. Roll the dough gently. The top of the loaf should be smooth with a joint running along the length of the base.
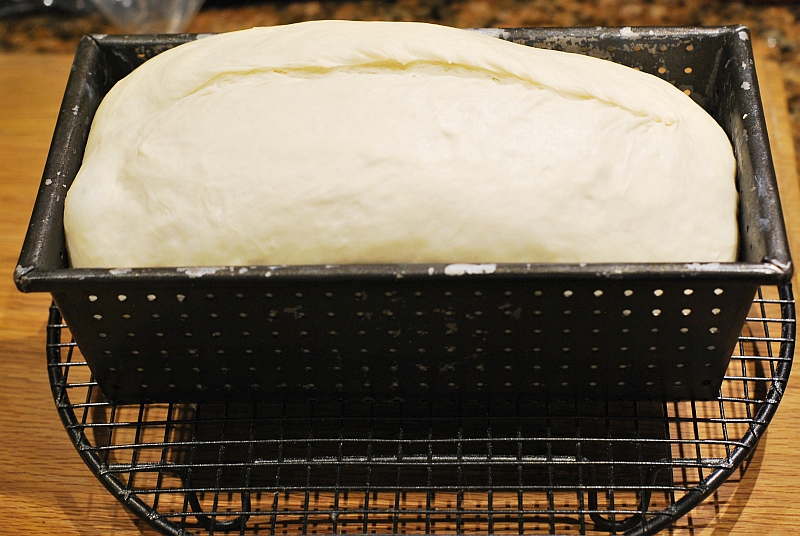
- Put the dough into prepared tin, making sure the joint is underneath.
- Put the tin inside a clean plastic bag or cover with a damp tea towel and leave to prove for up to 1 hour, until the dough is at least doubled in size.
- About 20 minutes before the end of proving time set the oven to 230 centigrade. Put a roasting tin in the bottom of the oven to heat up.
- Make a deep slash along the length of the loaf with lame or a very sharp knife. Pour a glass of boiling water into the roasting tin. Put the bread in the oven and bake for 30 minutes. After 5 minutes reduce the temperature to 220 centigrade.
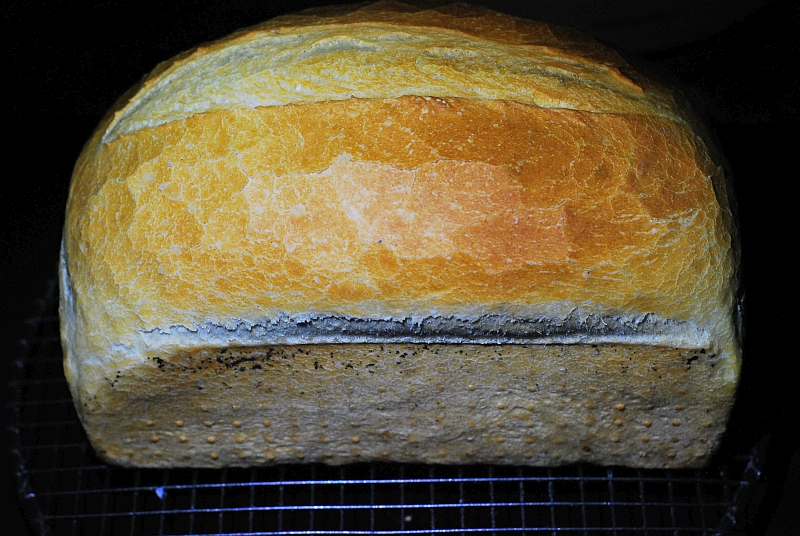
- Check whether the bread is baked by tapping the base to see if it sounds hollow. Leave to cool, out of the tin, on a wire rack.